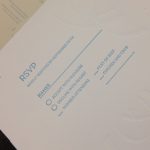
The invitations are in the mail and have started arriving at their final destinations! It was both relieving and bittersweet to send them out on Monday. I’ve been envisioning hand making the invitations ever since Eric and I got engaged and now everyone finally gets to see them.
Since my time at RIT, I’ve been interested in learning how to letterpress. About a year ago, Eric and I took a photopolymer letterpress class at a local studio in Maryland. Over the July 4 weekend, I designed the invitations and then sent them off so a plate could be produced. After receiving the plate, Eric and I spent five hours at the studio creating the prints. We then hand cut each piece, created the sleeve, and assembled all the pieces.
Over the weekend of July 21 and 22 (our target date to mail the invitations), my mom, dad (yes, you read that correctly), Aunt Chris, Lauren, Nana, and Judy all helped on craft projects. Without the gracious help of many family members, many of the craft projects for the wedding would not have been possible. It was so much fun to work with everyone. I did not let anyone see the final letterpressed pieces because I wanted them to be a surprise when they arrived in the mail, but I had help with the invitation sleeves as you will see in the photos below. We were even treated to a surprise spaghetti dinner courtesy of Uncle Frank!
Now it is time to unveil the final product and show some of the in-progress photos! Here are two videos showing the action in motion.
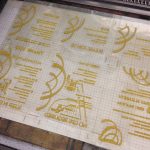
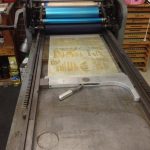
- The photopolymer plate is attached to the base block in the bed of the letterpress. We started with all the pieces on the base block in order to get the alignment and positioning figured out.
- The first step was to create the blind impression on the paper. We removed all the text from the base block so only the pieces to be printed without ink were left.
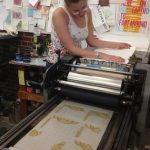
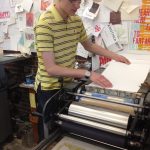
- Lindsay started to run all the pieces of paper through the press. Since each run created all the pieces for one invitation, we ended up repeating the process over seventy-five times!
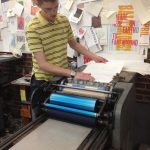
- Eric took his turn at the driver’s seat as well.
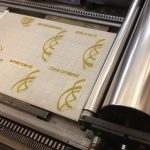
- After finishing all the first run of blind impressions, we put ink on the press to do the second run. We swapped the text pieces on the base block so that all the invitation content would now be present.
- Eric completed some of the second run.
- After setting up each run, we ran each page individually through the press.
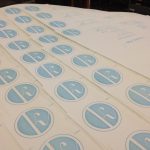
- A closeup of the final print after both runs through the press.
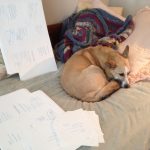
- Sophie even contributed by guarding the invitations after they were printed.
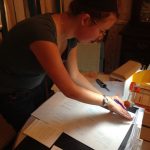
- Lindsay works to hand cut each piece of the invitation.
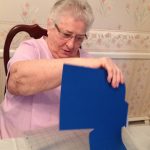
- Lauren and Nana worked as a team to cut the invitation sleeves. Lauren manned the cutter while Nana removed the cut piece and then reloaded the sheet with another piece of paper.
- Nana removes an invitation sleeve that Lauren cut.
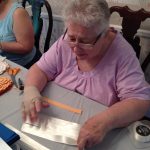
- Nana also helped by cutting all the ribbons used on the invitations.
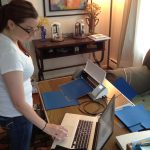
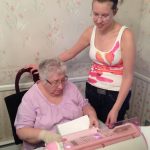
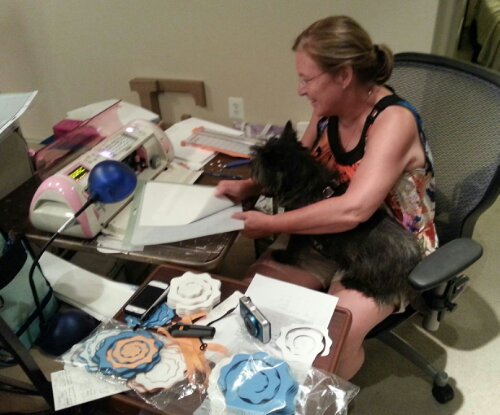
- Nana works hard on the Cricut as Lindsay looks on. We kept her busy all day with different projects.
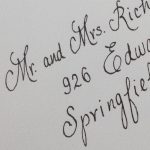
- The only piece that we did not do was the calligraphy on the envelope. My handwriting is not even close to this, so luckily we found a beautiful calligrapher to help us out.
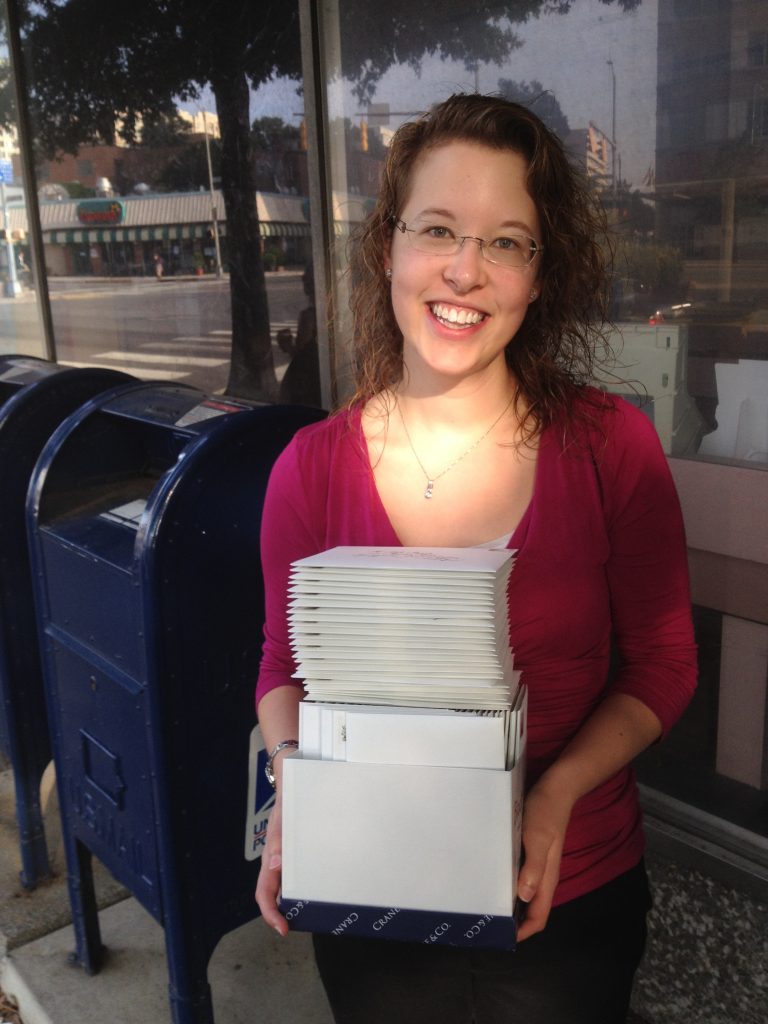
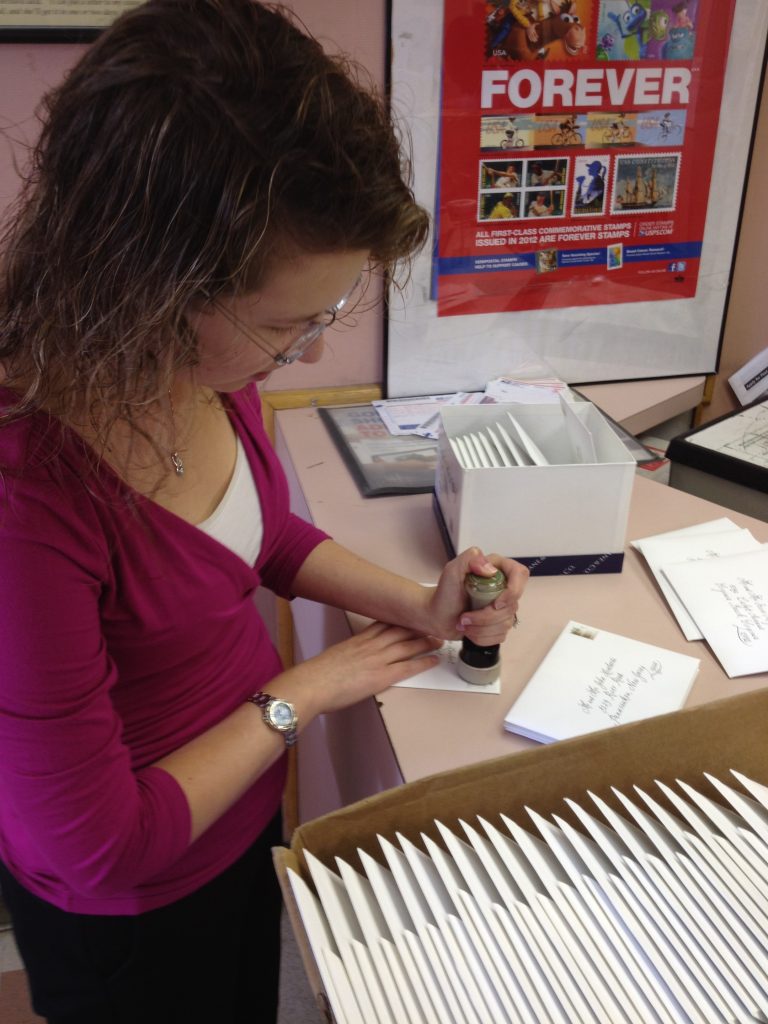
Once everything was assembled, placed in the envelopes, and stamped, the final task was taking everything to the post office. Yes, Eric made me pose for a photo right before we went into the post office. While I may be thankful for the picture looking back on all the hard work to get to that point, I was not the most keen on the idea at 8am Monday morning. I even got the chance to be a temporary postal employee when they asked me to hand cancel the invitations since it was a busy morning.
